Ensamblar una excavadora es muy importante después de comprar una excavadora usada. Después de desempacar, ensamblar su excavadora correctamente es crucial para garantizar que el equipo funcione de manera segura y eficiente. A medida que la demanda de construcción e infraestructura continúa creciendo, la confiabilidad y el rendimiento de las excavadoras se han vuelto cada vez más importantes. Dominar estas técnicas de ensamblaje lo ayudará a poner en funcionamiento su máquina rápidamente, evitar retrasos innecesarios y garantizar el máximo rendimiento en trabajos futuros.

Los pasos para ensamblar una excavadora después de desempacar incluyen inspeccionar todos los componentes, preparar las herramientas necesarias, instalar las piezas principales y realizar la depuración final. Es esencial seguir las instrucciones del fabricante para garantizar las funciones del equipo correctamente. Además, prestar atención a cada detalle no solo ayuda en el uso a largo plazo del equipo, sino que también ayuda a evitar reparaciones costosas debido a supervisiones menores.
A continuación, exploraremos cada paso crítico en el proceso de ensamblaje para asegurarnos de que pueda completarlo sin problemas.
Inspección de desempaquetado: antes de ensamblar una excavadora
Importancia y propósito
Antes de comenzar el ensamblaje, realizar una inspección de desempaquetado es vital para garantizar que todos los componentes estén intactos y completos. Debido a las posibles vibraciones e impactos durante el transporte, una inspección exhaustiva es esencial para un proceso de ensamblaje suave.

Pasos detallados
Al desempacar, abra cuidadosamente el embalaje para evitar dañar las piezas internas. Es aconsejable utilizar herramientas apropiadas, como guantes y herramientas de corte. Después de desempacar, siga estos pasos para inspeccionar su excavadora:
- Verifique los cilindros hidráulicos. Estos son el núcleo de la operación de su excavadora. Asegúrese de que no haya fugas de aceite y verifique si hay arañazos o abolladuras en la superficie de los cilindros hidráulicos.
- Inspeccione el motor. Mire el exterior y el interior del motor, verificando el estado del refrigerante y el aceite. Asegúrese de que no haya fugas u otras anormalidades.
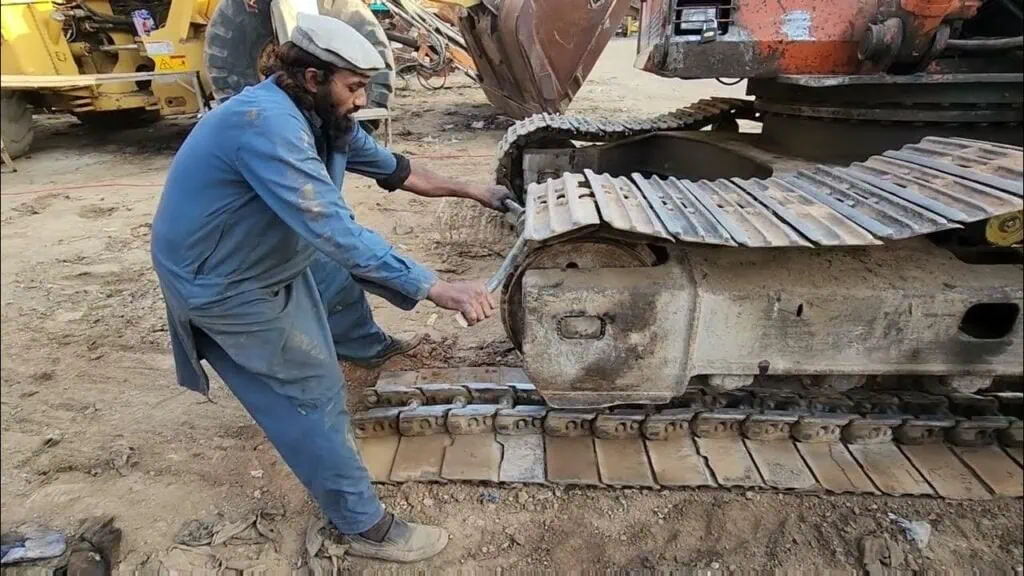
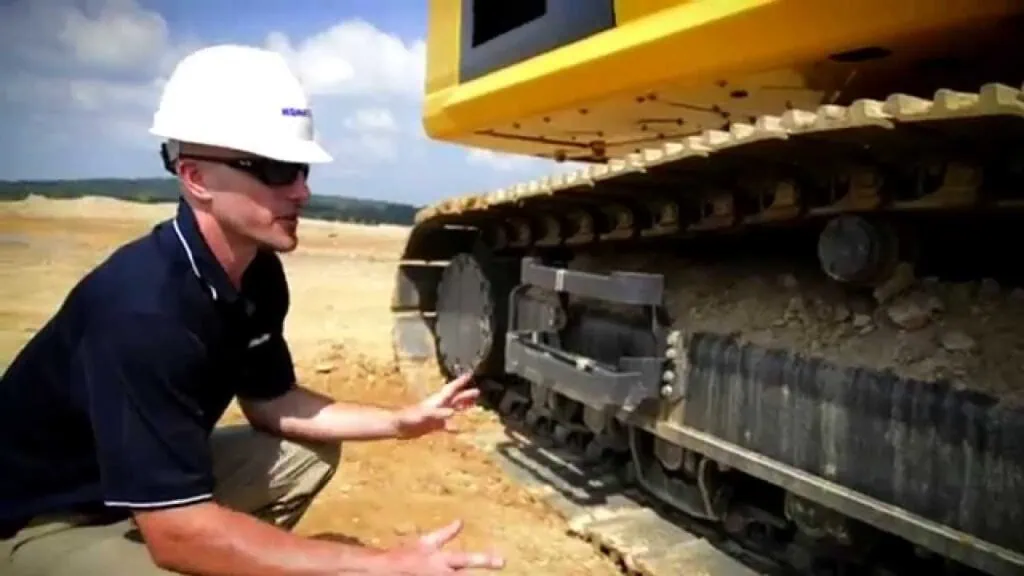
- Examinar las pistas: Verifique la integridad de las pistas en busca de grietas o desgaste excesivo, y asegúrese de que estén de forma segura al chasis.
- Evaluar el Adjuntos: Asegúrese de que todos los archivos adjuntos, como el brazo y el cubo, estén presentes y sin daños. Tome fotos de cualquier pieza dañada o faltante y comuníquese con el proveedor de inmediato.
Notas:
Documente la condición de todos los componentes para referencia futura durante el ensamblaje. Esto facilitará la comunicación oportuna con su proveedor en caso de problemas. Familiarícese con el manual de ensamblaje para comprender los puntos de instalación de varias piezas, estableciendo una base sólida para el proceso de ensamblaje.
Preparación de herramientas

Importancia de las herramientas
Antes de comenzar a ensamblar, asegúrese de tener todas las herramientas necesarias listas para mejorar la eficiencia y la seguridad. El uso de las herramientas correctas no solo acelera el proceso de ensamblaje, sino que también garantiza la precisión de cada paso.
Lista de verificación de herramientas comunes
Por lo general, necesitará las siguientes herramientas para ensamblar una excavadora:
- Landillas y destornilladores: para conectar y asegurar varias piezas.
- Aceite hidráulico y lubricante: para lubricar y mantener el sistema hidráulico.
- Herramientas neumáticas: como llaves neumáticas, que reducen la fatiga manual.
- Llave de torque: para garantizar que las conexiones de pernos cumplan con las especificaciones, evitando el daño por el exceso de ajuste o aflojamiento.
- Jack hidráulico: levantar componentes pesados para una instalación más fácil.
Preparación de herramientas
Organice e inspeccione sus herramientas antes de comenzar. Asegúrese de que todas las herramientas sean funcionales y fácilmente accesibles. Familiarizarse con el funcionamiento de cada herramienta lo ayudará a completar las tareas de ensamblaje de manera más eficiente. Comprender cómo usar cada herramienta de antemano puede ayudarlo a ejecutar las tareas de ensamblaje de manera efectiva.
Instalación de componentes principales

Instalación del sistema hidráulico
Instalar el sistema hidráulico es un paso crucial para ensamblar su excavador y requiere una atención cuidadosa. El funcionamiento adecuado del sistema hidráulico afecta directamente el rendimiento operativo de su excavadora.
Paso 1: Conecte los cilindros hidráulicos al marco, asegurando que no haya fugas de aceite. Use materiales de sellado apropiados para evitar fugas.
Paso 2: Adjunte las mangueras hidráulicas, asegurando que cada conexión esté ajustada. Use herramientas adecuadas para asegurar las conexiones en el par requerido.
Paso 3: Llene el aceite hidráulico y verifique que el nivel de aceite esté dentro del rango normal. Se recomienda utilizar el aceite hidráulico especificado por el fabricante para un rendimiento óptimo.
Instalación del motor

Al instalar el motor, asegúrese de que se alinee correctamente con el chasis para un funcionamiento adecuado.
Paso 1: Coloque el motor en el chasis, asegurando la alineación. Use un conector hidráulico para levantar el motor para una instalación más fácil.
Paso 2: Asegure el motor, asegurando que todos los pernos se apreten correctamente. Verifique los sistemas de escape y enfriamiento para garantizar las conexiones adecuadas.
Paso 3: Conecte el sistema eléctrico, asegurando que los cables estén unidos de forma segura para evitar futuros problemas eléctricos.
Instalación de la cabina

La CAB es un componente crítico, proporcionando protección para el operador y alojamiento de los sistemas de control. Aquí le mostramos cómo instalarlo:
Paso 1: Coloque la cabina sobre el chasis, asegurando que se ajuste de forma segura sobre las monturas. Alinee la cabina con los agujeros precipitados en el chasis.
Paso 2: Asegure la cabina usando los pernos especificados, asegurando que cada conexión se aprieta de acuerdo con las especificaciones de torque del fabricante. Esto evita las vibraciones durante la operación.
Paso 3: Conecte los paneles de control y el cableado dentro de la cabina. Asegúrese de que todas las conexiones eléctricas sean seguras y que los instrumentos funcionen correctamente.
Paso 4: Verifique que todas las ventanas y puertas cierren correctamente y que las características de seguridad, como los cinturones de seguridad y las salidas de emergencia, estén en su lugar.
Instalación de las pistas

Al instalar las pistas, asegúrese de mantener la tensión adecuada para la flexibilidad durante la operación.
Paso 1: Adjunte las pistas al chasis, asegurando una alineación adecuada sin obstrucciones. Use una llave de par para apretar cada conexión a las especificaciones requeridas.
Paso 2: Verifique la tensión de las pistas, asegurando que no sean ni demasiado apretados ni demasiado sueltos.
Paso 3: Después de instalar las pistas, realice una inspección inicial para asegurarse de que no haya piezas sueltas o conectadas incorrectamente.
Pruebas finales y depuración
La necesidad de depurar
Después de completar el ensamblaje, realizar la depuración y las pruebas finales es crucial para garantizar que su excavadora funcione correctamente. La depuración no solo verifica que todos los sistemas funcionen correctamente, sino que también ayuda a identificar cualquier problema antes de comenzar el trabajo real. A través de la depuración, puede evaluar todas las funciones de la máquina para garantizar un rendimiento óptimo en diversas condiciones de funcionamiento.

Pasos de depuración
Durante el proceso de depuración, comience por verificar el estado del sistema hidráulico para garantizar que funcione sin fugas. Aquí hay pasos detallados de depuración:
Paso 1: Arrancar el motor
Al comenzar su excavadora, observe cuidadosamente su funcionamiento para cualquier ruidos o vibraciones anormales. Durante el arranque inicial, permita que el motor funcione durante unos minutos para circular el aceite y el fluido hidráulico correctamente.
Paso 2: Verifique el sistema hidráulico
Una vez comenzó, observe el flujo y la presión del aceite hidráulico. El aceite hidráulico debe fluir suavemente sin burbujas o impurezas, y el medidor de presión debe estar dentro del rango normal. Para sistemas hidráulicos de alta presión, asegúrese de que todas las conexiones estén seguras para evitar fugas.

Paso 3: Prueba la sensibilidad de control
Opere cada palanca de control, incluido el cubo, el brazo y las pistas, para garantizar que cada función responda correctamente. Preste atención a la suavidad y la capacidad de respuesta durante la operación para garantizar que no haya retrasos o bloqueos. Si nota alguna anomalía, inspeccione las válvulas hidráulicas y las conexiones.
Paso 4: Realizar pruebas funcionales
Si es seguro hacerlo, realice diversas operaciones, como cavar, levantar y girar en un área controlada para evaluar la estabilidad y la maniobrabilidad de la máquina. Estas pruebas funcionales ayudarán a evaluar el rendimiento de su excavadora en diferentes condiciones de trabajo. Documente los tiempos de respuesta y los resultados de cada operación para un análisis posterior.
Inspección final

Después de completar todas las pruebas, registre sus resultados y realice los ajustes necesarios para garantizar que el equipo funcione bien durante el uso. Los puntos clave para su inspección final incluyen:
Verifique los sistemas de seguridad
Asegúrese de que todos los dispositivos de seguridad, como botones de parada de emergencia, luces de advertencia y alarmas, funcionen correctamente. Estas características de seguridad son cruciales para prevenir accidentes.
Inspeccionar sistemas hidráulicos y eléctricos
Revise las conexiones del sistema hidráulico para confirmar que están seguras y asegurar que el cableado del sistema eléctrico esté intacto. Preste especial atención a la carga y las conexiones de la batería para evitar apagados inesperados.
Asegúrese de que no se fugas
Realice una inspección exhaustiva del motor y los cilindros hidráulicos para asegurarse de que no haya fugas de aceite o fluido. Las fugas no solo afectan el rendimiento, sino que también pueden conducir a la contaminación ambiental.
Realizar pruebas de carga
Si las condiciones lo permiten, realice pruebas de carga en un entorno seguro. El uso de la excavadora en cargas nominal verificará su estabilidad y capacidad de carga. Este paso es fundamental para confirmar la confiabilidad de su excavadora durante las operaciones de alto estrés.
4.4 Capacitación de usuarios y orientación operativa
Después de la depuración, considere capacitar a sus operadores para asegurarse de que comprendan cómo operar el equipo correctamente. Los temas de entrenamiento deben incluir:

Operaciones básicas
Cubra de inicio, detención, controles hidráulicos y cambios de archivo adjunto para garantizar que los operadores estén familiarizados con las habilidades esenciales.
Precauciones de seguridad
Haga hincapié en los protocolos de seguridad durante la operación, como usar el equipo de protección adecuado y evitar operaciones en un terreno inestable.
Inspecciones y mantenimiento diarios
Enseñe a los operadores cómo realizar inspecciones y mantenimiento diarios para mantener la excavadora funcionando en su mejor momento.
Documentación y comentarios
Finalmente, documente todos los datos y observaciones del proceso de depuración para referencia futura. Comuníquese con los operadores para recopilar comentarios sobre el rendimiento del equipo. Estos registros e ideas lo ayudarán a comprender mejor el uso del equipo, permitiendo un mantenimiento oportuno y mejoras para mejorar la eficiencia general.

Conclusión
Siguiendo los pasos descritos en esta guía, puede asegurarse de que su excavadora esté ensamblada y probada correctamente para un rendimiento óptimo. Completar meticulosamente los procesos de inspección, ensamblaje y depuración prepararán a su excavadora para una operación exitosa y eficiente. Comprender las características y los requisitos operativos de su máquina le permitirá trabajar de manera segura y efectiva en sus proyectos de construcción. Somos proveedores profesionales de excavadoras usadas, por favor Contáctame Si alguna pregunta.


